
A roofing sheet can match its profile drawing and still leave a poor fit at the eave or wall. The problem often appears only when the panel, trim and fixing points come together. Before releasing a run of folded trim, use a representative panel and a short assembly mockup to check the interfaces. The aim is to give the fabrication shop a clear release decision while there is still time to change the trim drawing.
Start with the roofing sheet the project will use
Ask for the current panel drawing and a physical offcut from the specified panel system. Mark the drawing revision on the sample and identify the top face, uphill direction and overlap edge. Panels that look similar at a glance can have different rib spacing, seam geometry or closure requirements. If procurement changes the profile after the trial, repeat the checks that relied on that profile.
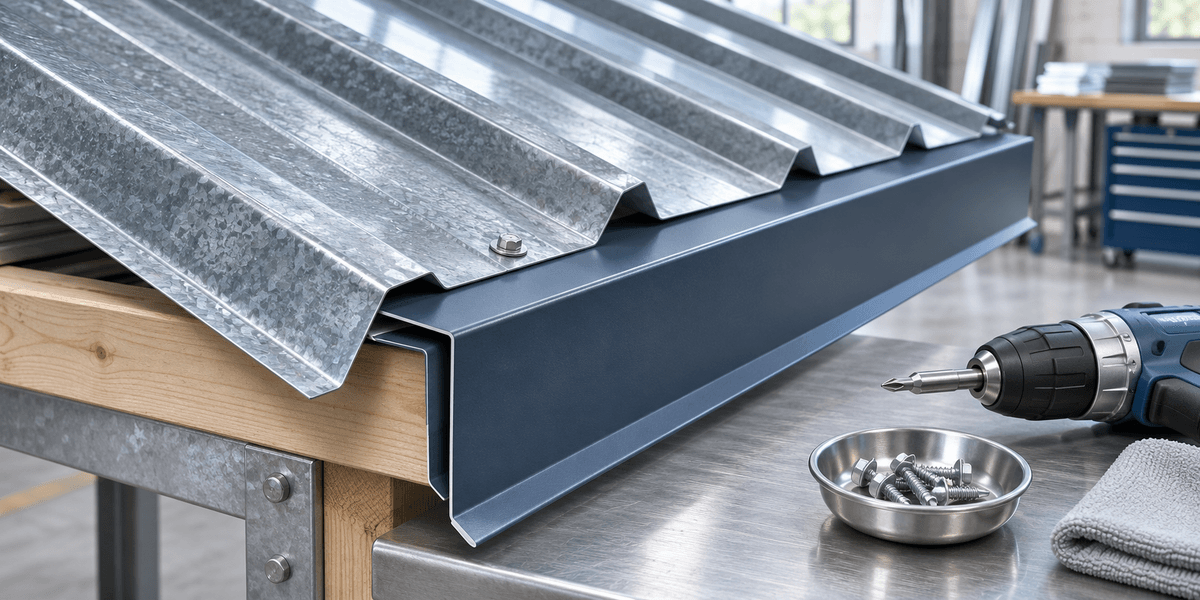
Record where the roofing sheet will meet other work. An eave, verge and wall abutment can use the same panel but require different trim geometry. On the sketch, label each joint and show which piece sits above or below its neighbor. Ask the installer to confirm that sequence. A clear sketch also lets the shop identify which features it needs to reproduce on the folded sample.
Assemble the joint in installation order
Use a stable bench fixture to represent the relevant support and orientation. Bring the roofing sheet, folded trim and any specified clips, closures or fasteners together in the order they would be installed. Leave access to the fixing points so the installer can check whether the intended tool can reach them.
Keep the sample relaxed while establishing the fit. If someone has to press a flange down to line up a fastening point, record where the gap appears before force is applied. A second person should be able to assemble the same pieces from the drawing and get the same result. If the parts only fit after one operator twists them into position, the drawing or fixture has more work to do.
Measure from the surfaces that control fit
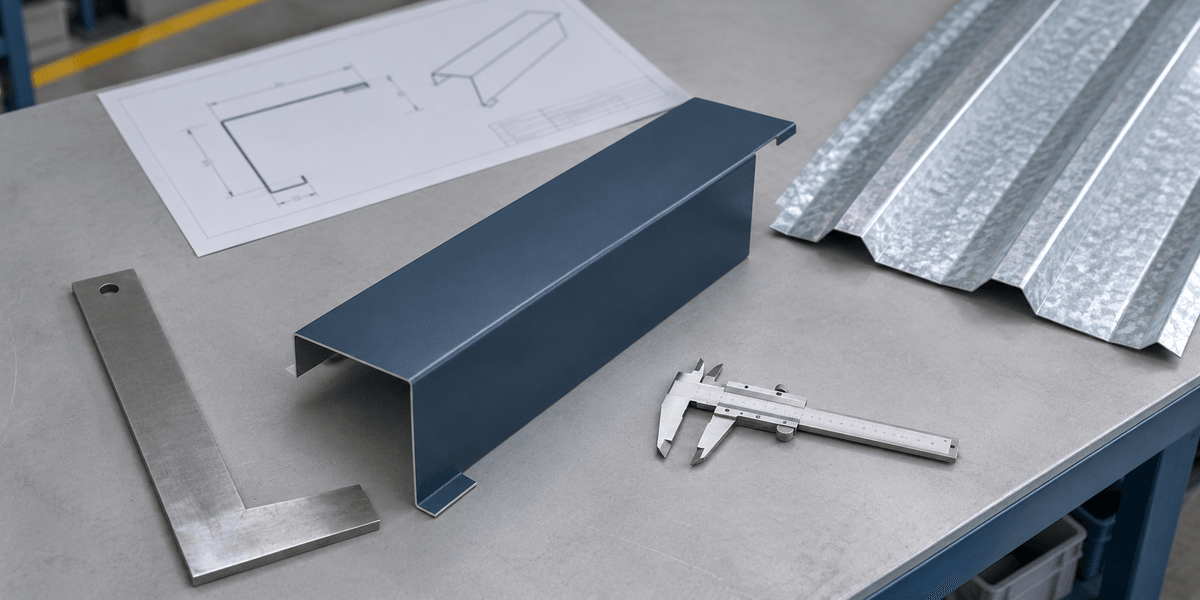
Identify the face or edge that locates the trim on the roofing sheet. Mark that datum on the drawing and measure the relevant flange, return and fixing locations from it. Avoid switching between the free edge and the bend line midway through the inspection. Record how the sample was held during measurement, especially if the part can flex.
Check several points along the joint when the sample length permits. One reading near the end can miss a bow that affects fit farther along. If the trial uses a short offcut, flag any length dependent checks for a representative production sample. Set acceptance limits with the project team using its current drawings and panel system instructions.
Check overlap, movement and access together
The roofing sheet profile and trim return need enough space to meet the specified overlap without a forced fit. On the mockup, mark where an overlap ends and where a closure or fixing point starts. Check that the shop has left room for those components at the specified locations.
Compare the assembly against the project instructions for drainage, movement and fastening. A bench fit check can reveal a blocked opening or an inaccessible fixing, but it cannot establish weather performance. Route any changes to the panel system detail through the responsible designer or supplier. Keep the mockup record focused on what the team directly observed.
Worked example: separate a fit issue from a fixing issue
In a sample eave assembly, imagine that the trim return contacts a panel rib before the trim reaches its drawing position. Mark the first point of contact and photograph the joint from the end. Remove the trim and compare its return with the drawing. If the folded part agrees with the drawing, bring the panel profile and trim section to the detail owner for review. Changing the return at the machine would revise the joint, so the updated detail needs approval.
In a different trial, the trim might sit correctly while the installation tool cannot reach a specified fixing. Record the tool and the obstructing feature, then ask the installer to demonstrate the intended sequence. Both examples might be described as poor fit in a handover note, but they need different responses. Keep the drawing dimensions, assembly observation and proposed remedy in separate fields.
Use the finished face to judge appearance
Mark the visible faces of the roofing sheet and trim before handling the samples. Examine them in ordinary lighting and from the view that matters at installation. Record the location of any scratch, clamp mark or bend distortion. Take a close photograph plus a wider view that makes the location recognizable.
Use production material and finish when appearance is part of approval. A trial made from a different finish can establish clearance, but it may give misleading evidence about surface handling. If the shop uses protective film, record whether the film was in place during folding and when it was removed for inspection.
Release the trim with a record the shop can repeat
A useful fit record includes the roofing sheet reference, trim drawing revision, tested joint, measured features and photos. For each unresolved item, name the person who must respond and the condition for retest. When a proposed change affects a bent return, mark the updated dimension on the drawing and rerun the joint check rather than adjusting each part at installation.
Keep an approved sample or an annotated picture available with the production drawing. Before completing the first production batch, compare a piece to that reference using the same datum and the same assembly checks. This is especially helpful when the order spans shifts or the original trial team is unavailable.
Questions about roofing sheet fit checks
Can one sample cover every detail?
One roofing sheet sample can support several checks if the material and profile match, but each materially different joint needs its own fit decision. Prioritize details with different laps, fasteners or access. Where a joint repeats without change, identify on the release record exactly which locations it covers.
Who should approve a proposed trim change?
The fabricator can identify a workable fold and explain how to reproduce it. The installer can confirm assembly access. When a change affects the specified panel joint, the responsible designer or panel supplier should confirm the revised detail before production.
What should a folding equipment demonstration include?
Bring representative blanks and a drawing of the trim. Ask the supplier to demonstrate the returns and visible faces that matter to the project. Check the resulting part against the intended roofing sheet interface before drawing conclusions from the machine trial.
Bring the joint details to your equipment discussion
ARTITECT Machinery describes automatic double folding equipment on its website. If you are planning a new trim workflow, share the roofing sheet profile, trim drawing and fit criteria with the team. That gives the demonstration a specific assembly to check and makes it easier to agree what must be measured before production.